
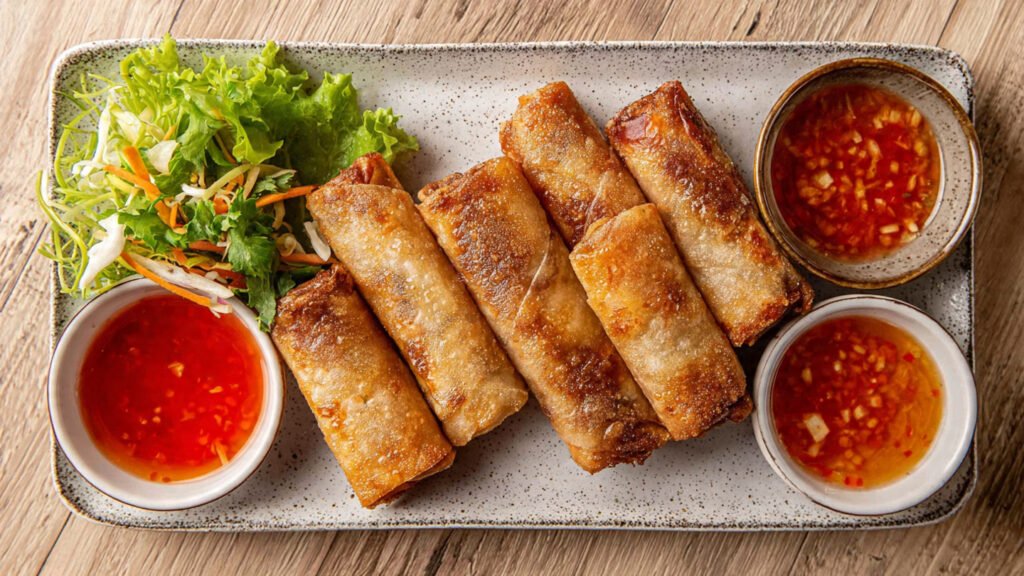


You want spring rolls that snap when you bite and taste as fresh as they look. Crispiness comes from thin, dry wrappers, low-moisture fillings, and oil hot enough to set the exterior immediately—combine those and you get that golden crunch.
You can control texture and flavor by choosing the right ingredients, mastering a tight roll, and frying at a consistent temperature or using an air fryer for a lighter finish. The rest of the article will show how filling choices, rolling technique, temperature control, and simple serving tweaks keep your spring rolls crunchy and deeply flavorful.
Core Ingredients That Create Crispiness

The crisp shell of a Thai spring roll depends on three things: the wrapper you choose, how dry the filling stays, and which starches or flours you use in coatings or binders. Each choice changes surface texture, frying behavior, and how long the roll stays crunchy.
Recommended Products

Thin Edible Sheets: Rice paper is a delicate, translucent, and thin sheet made from rice flour, water, and sometimes other ingredients like tapioca starch. Capture the essence of traditional Asian cuisine in your kitchen, as rice paper is a staple ingredient in beloved dishes like Vietnamese spring rolls.

𝐏𝐑𝐄𝐌𝐈𝐔𝐌 𝐐𝐔𝐀𝐋𝐈𝐓𝐘: Cathay Spring Roll Rice Paper Wrappers are made from specially selected ingredients sourced from Vietnam and 100% machine processed and dried, which brings you a fantastic and delicious food experience every time. Does not easily break when wrapping like the other brands out there.

Rice Paper or Wheat Wrapper Selection
Choose wrapper type based on frying method and desired crackle. Rice paper (bánh tráng) crisps into a glassy, brittle shell when fried hot and fast; it thins and puffs, producing razor-sharp shards. It tears more easily when over-hydrated, so wipe wet fillings dry and wrap tightly to avoid sogginess.
Wheat-based wrappers (egg roll or spring roll pastry) deliver a flakier, layered crust. They tolerate higher filling moisture and longer fry times without shattering. For deep frying, use thin wheat wrappers for even browning; for pan-frying or air-frying, slightly thicker wheat wrappers resist drying out.
If you want a glossy, ultra-crispy finish, brush rice paper with a thin oil layer before frying. For a heartier chew and predictable results, pick wheat wrappers and seal edges with a cornstarch slurry.
Types of Fillings and Their Moisture Content
You must control filling moisture to prevent steam-softening of the shell. Vegetables like cabbage and carrots release water as they cook; squeeze or drain them after sautéing. Use glass noodles or dry-shrimp sparingly and cool fillings fully before wrapping to limit internal steam.
Include drier proteins (ground pork, shrimp chopped and patted dry) or precook and drain tofu well. Add absorbent binders—panko, toasted vermicelli, or a small amount of cooked, cooled rice—to soak excess juices. A ratio guideline: keep filling moisture under about 30% by weight for deep frying to ensure a crisp exterior.
Layer fillings so wetter ingredients sit toward the center. That placement prevents direct contact between wet components and the wrapper, maintaining a dry interface that fries to a crisp.
Role of Starch and Flours in Texture
Starches and flours modify surface crunch, sealing, and color. Cornstarch or tapioca starch mixed with water into a thin slurry creates a glue that seals seams and fries to a translucent, crunchy edge. Dusting wrappers lightly with wheat flour before frying helps develop a crisp, browned exterior.
In batters, use a blend of rice flour and wheat flour or add a small percentage of potato or tapioca starch for extra crackle. These starchy flours gelatinize rapidly and form a crisp lattice as moisture evaporates. Avoid heavy batters; they create a thick crust that masks delicate fillings.
When making a sealant, use a 1:1 cornstarch-to-water paste applied sparingly. For a glossy finish, mix a teaspoon of oil into the slurry.


Mastering the Rolling Technique
Control the amount and position of filling, and seal tightly with the right adhesive. Small adjustments in proportion and sealing make the difference between soggy and shatteringly crisp spring rolls.
Recommended Products

【Versatile Medium for Chinese and Japanese Art】: SEAMEW Calligraphy Rice Paper is ideal for Chinese brush painting and Japanese sumi, offering a canvas for diverse artistic expressions including calligraphy, ink stamping, and more.
Authentic Japanese Craftsmanship – Immerse yourself in the beauty of traditional Shodo and Chinese brush calligraphy with premium rice paper made in Japan. Each sheet is expertly crafted for smooth ink absorption and elegant brush flow.
Authentic Japanese Shodo Paper – Made in Japan for calligraphy, sumi-e painting, ink wash art, and traditional brushwork techniques.
Proper Filling Proportion and Placement
Use about 1.5–2 tablespoons of filling for a standard 4.5–5 inch wrapper; heavier fillings need less volume. Overfilling increases steam and prevents a tight roll, which produces soggy spots during frying.
Layer ingredients so denser items (meat, mushrooms, noodles) sit closest to the fold, and lighter items (shredded cabbage, carrot, herbs) sit on top. This arrangement compacts the heavy pieces toward the roll’s center and keeps moisture-bearing vegetables from contacting the wrapper edges.
Keep fillings cold and well-drained. Use a fine-mesh sieve or towel to press out excess liquid from cooked components, and cool them to stop steam formation during frying.
How to Seal Spring Rolls for Crunch
Pat the wrapper edges dry with a paper towel before sealing; wet edges won’t adhere well. Use a small slurry of 1 tablespoon flour mixed with 2 tablespoons water as glue — it sets firm and resists oil penetration.
Fold the bottom third of the wrapper over the filling, tuck the sides in snugly, then roll tightly to the top edge. Ensure the final seam faces down on a tray to dry for 10–15 minutes; this helps form a sealed crust before oil contact.
Avoid excess glue on the outside; a thin, even bead is enough. For extra reinforcement, press the seam with a fork or brush a hairline of beaten egg along the edge for a deeper golden finish.


Frying Methods and Temperature Control
Proper oil choice and tight temperature control produce a thin, shatteringly crisp shell and a cooked, juicy filling. Maintain steady heat, avoid overcrowding, and use the right oil to prevent sogginess and off-flavors.
Recommended Products

Authentic Vietnamese Tradition: Create spring rolls just like in traditional kitchens with these delicate rice paper wrappers; Each sheet becomes pliable in seconds when soaked in warm water, making it simple to roll fresh rice paper rolls or fry them into crispy appetizers; Perfect for recreating restaurant-style dishes at home while using fresh ingredients you choose

【 Dip & Roll 】The rice paper bowl designed in 2 parts to hold rice paper and warm water at the same time. Easily dip the rice paper evenly in the water and wrap with ingredients, then enjoy your fresh and delicious Vietnamese spring rolls

【 PREMIUM QUALITY 】: Cathay Spring Roll Rice Paper Wrappers are made from specially selected ingredients sourced from Vietnam and 100% machine processed and dried, which brings you a fantastic and delicious food experience each and every time. Does not easily break when wrapping like the other brands out there!
Choosing Suitable Cooking Oil
Pick an oil with a neutral flavor and a high smoke point so the rolls brown without burning. Good options: peanut (smoke point ~450°F/232°C), refined canola (~400°F/204°C), or sunflower (~440°F/227°C). Avoid extra-virgin olive oil; its low smoke point and strong flavor can ruin the texture and taste.
Use fresh oil when possible. Old or reused oil darkens faster, increases off-flavors, and reduces crispness. For safety and consistency, keep oil depth at 1–2 inches (2.5–5 cm) so rolls float and brown evenly.
Strain and store oil properly between uses. Cool it, filter out solids with a fine mesh or cheesecloth, and keep it in an opaque container. Discard oil that smokes excessively, foams, or smells rancid.
Ideal Frying Temperature and Time
Heat oil to a steady 350–375°F (175–190°C) for best results. At 350°F, rolls cook through without excessive browning; at 375°F they crisp faster but require close attention to avoid burning.
Use a thermometer or an infrared temp gun for accuracy. Test oil by slipping in one roll: it should sizzle immediately and float, with small consistent bubbles. If bubbles are violent, the oil is too hot; drop temperature and wait.
Fry in small batches to keep the temperature stable. Cook each roll 3–5 minutes depending on size and filling moisture. Transfer to a wire rack over a baking sheet to drain; resting briefly on paper towels traps steam and leads to sogginess, so avoid prolonged contact.


Essential Tips for Preventing Sogginess
Control oil, temperature, and moisture at every step to keep the shell crisp and the filling juicy. Drain properly, cool briefly, and protect the wrapper structure immediately after cooking.
Recommended Products

Teagas Chinese Calligraphy Paper is produced by traditional handicraft process, made from high quality raw tree. Specially offered for Chinese brush ink writing and Japanese or Kanji sumi writing. Generally, it is also called "Xuan paper" or "Rice paper"


Mix & match to make your own sasfari cake, cookies and more: 3 cheetah print edible wraps – cut, combine, or use alone
Draining and Cooling Techniques
Drain spring rolls on a wire rack set over a sheet pan so excess oil falls away instead of pooling under the rolls. Line a warm plate with a single layer of paper towels only when you must; change towels quickly to avoid steam reabsorption.
Cool briefly at room temperature—about 1–2 minutes—so surface oil sets and the wrapper firms. Do not stack rolls while they are hot; stacking traps steam and softens the crust. If you must hold them longer than 10 minutes, keep them in a single layer in a low oven (90–110°C / 200–225°F) on a rack to preserve crispness without overcooking.
Maintaining Wrapper Structure After Cooking
Seal edges tightly before frying by brushing wrapper edges with a little water or a beaten egg wash to prevent filling leakage and oil infiltration. Use wrappers that match your cooking method: thin rice-paper or spring roll wrappers for quick frying, thicker wheat-based wrappers for longer holds.
Avoid overfilling; leave a 1–1.5 cm (⅜–½ inch) border to fold and tuck. This keeps seams compact and reduces steam pockets that cause sogginess. For freezing, flash-freeze on a tray, then store in a single layer in a sealed bag; cook straight from frozen to prevent condensation during thawing.


Flavor Elements That Enhance Deliciousness

Focus on bright, savory seasonings and a dipping sauce that contrasts the fried wrapper. Precise use of aromatics, umami, acidity, and texture lets the filling sing without overpowering the crisp exterior.
Recommended Products
![Best of Thailand [Square] Brown Rice Paper Wraps 3 Pack | Perfect for Fresh Spring Rolls & Dumplings | Non-GMO, Gluten-Free, Vegan & Paleo | Kosher for Passover Kitniyot](https://m.media-amazon.com/images/I/51+YmW7PEeL._SL500_.jpg)
DELICIOUS HEALTHY MEAL IN MINUTES: Best of Thailand Rice Papers make a scrumptious snack or meal that can be ready in just a few minutes. A true staple in Thai cuisine, these are great to have on hand anytime a craving strikes.

2-Piece Wrap Variety Pack: This Blue Dragon combo includes 1 pack of Sushi Nori sheets and 1 pack of Vietnamese-style rice paper wrappers, giving you two essential pantry staples for homemade sushi, fresh spring rolls, rice wraps, and creative meals inspired by Asian cuisine.

FOUR ELEPHANTS ROUND RICE PAPER IDEAL FOR: Delicious Healthy Meal for those who want authentic Asian Flavors Spring Rolls that can be ready in just a few minutes but can also be lightly fried for egg rolls. For a twist, try our rice paper as a topping on eggs or a salad! Break up your rice paper, fry in oil, and enjoy that added crunch!
Balance of Seasonings
You want a filling seasoned so each bite tastes layered but not heavy. Use garlic and shallot for immediate aroma, and add fish sauce or soy sauce for salty umami. A small pinch of sugar balances acidity and deepens savory notes without sweetness overload.
Fresh herbs—cilantro, Thai basil, or kaffir lime leaf—add citrusy high notes; add them near the end of cooking to preserve brightness. Ground pork or shrimp benefit from a light toast of ground white pepper for warmth. Keep moisture in check: squeeze excess liquid from shredded vegetables or briefly sauté to evaporate water so the wrapper stays crisp.
Measure rather than guess. A ratio like 1 tsp fish sauce per 200 g meat or vegetables is a useful starting point; adjust to taste. Finish with a few drops of lime juice just before wrapping for lift.
Complementary Dipping Sauces
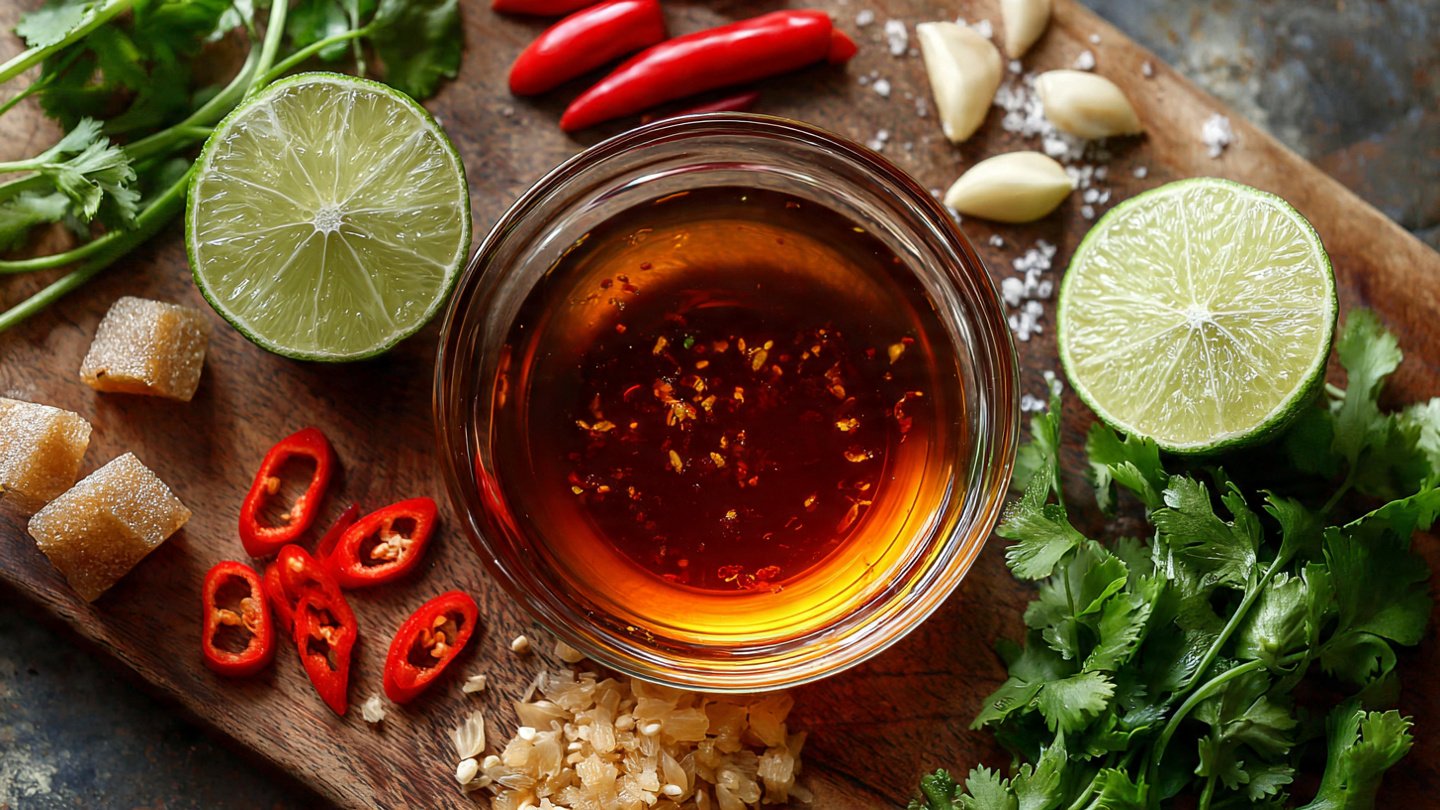
Match the sauce to the roll’s profile: sweet-tangy for pork, spicy-peanut for vegetable or shrimp, and clear chili-vinegar for lighter fillings. Aim for three components—sweet, sour, and salty—with heat optional.
Classic sweet chili sauce mixes:
- 3 tbsp sugar
- 2 tbsp rice vinegar
- 1 tbsp fish sauce
- 1 small garlic clove, minced Simmer briefly to dissolve sugar and cool before serving.
For a peanut-style dip, whisk:
- 2 tbsp creamy peanut butter
- 1 tbsp soy or fish sauce
- 1 tbsp lime juice
- Water to thin, plus chopped chilies if you want heat.
Serve sauces at room temperature in shallow dishes so you get a balance of flavors and texture each dip.

Popular Variations and Regional Influences
Expect fresh herbs and shifting fillings to change texture and flavor depending on where you buy or make spring rolls. Some vendors emphasize aromatic herbs and lightness; others favor heartier proteins and deeper frying for extra crunch.
Recommended Products

Designed for Takoyaki pans, Teppanyaki grills, Okonomiyaki plates, Taiyaki molds, and flat top griddles, making it easy to oil small grooves evenly.

rice paper roll-High-Quality Material:Crafted from premium mulberry bark fibers, this authentic Chinese Rice Paper offers the superior quality expected of true Xuan Paper, delivering exceptional durability and a flawlessly smooth texture ideal for precise calligraphy and vibrant brush painting.
Value 12-Pack, 100 Sheets per Pack – Includes 12 packs of 100 sheets each (1,200 sheets total), perfect for long-term use in art classes, studios, and professional or hobby calligraphy practice. Measures 9.5"x13"
Herb Additions for Texture
You’ll often find cilantro, Thai basil, and mint added to the filling for brightness and a slight lift in mouthfeel. Cilantro adds a soft, leafy chew while Thai basil gives a peppery snap; mint contributes cooling, crisp-tender bites that contrast with fried pastry.
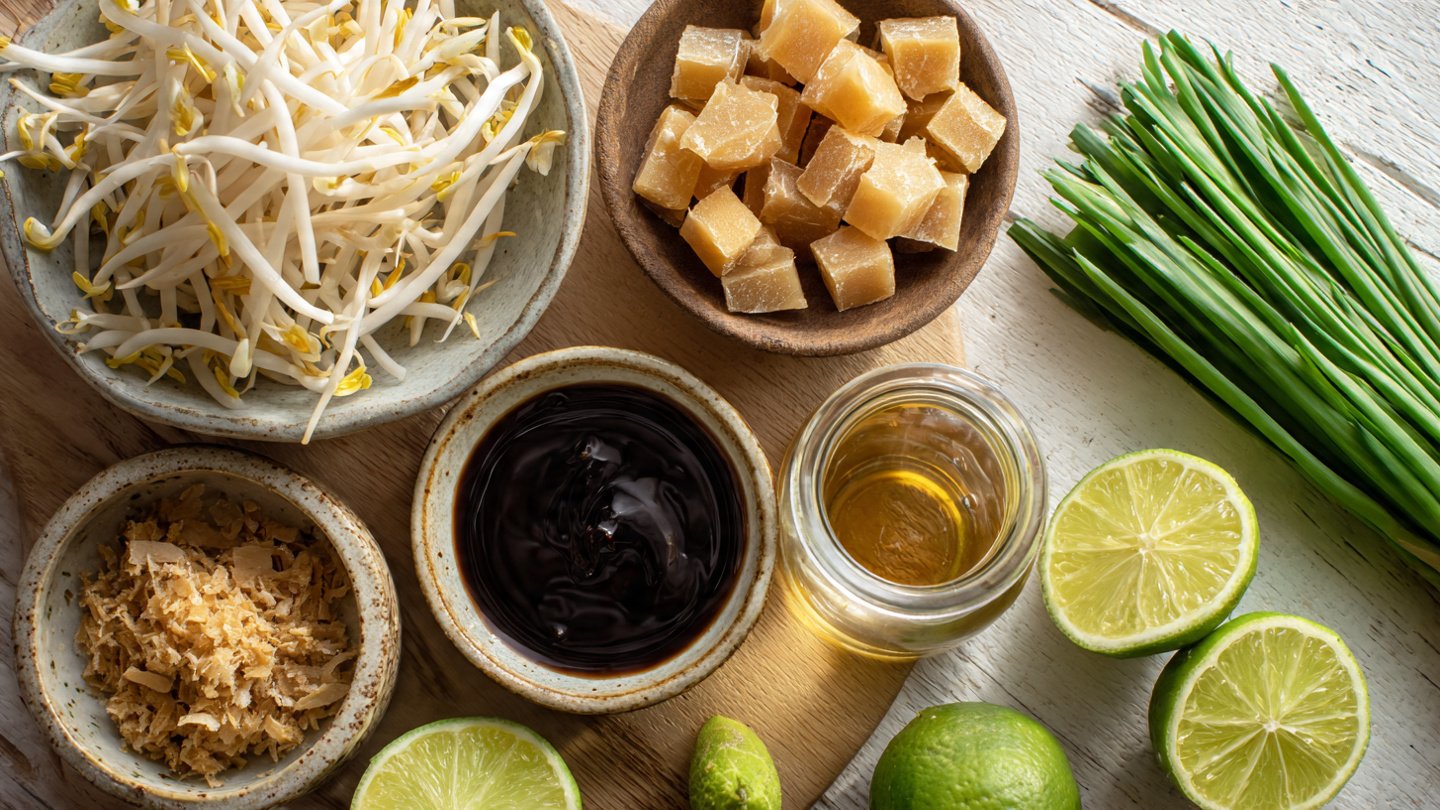
Some cooks fold in finely shredded green onions or chives for thin, fibrous strands that stay slightly crunchy after cooking. You can also add bean sprouts or thinly sliced cabbage to increase internal crunch without changing frying time.
If you prefer a chewier interior, mix in rehydrated glass noodles; they hold moisture and provide a slippery, springy texture. Adjust herb amounts to keep the filling from becoming wet—excess moisture softens the wrapper and reduces crispness.
Differences Across Thai Regions
In central Thailand, vendors often use a pork-and-vegetable mix with plentiful garlic and white pepper, then deep-fry until uniformly golden. The emphasis there is on a light, flaky wrapper and a savory, familiar filling that appeals to broad tastes.
Northern regions may feature more herbs and sometimes fermented soy or local mushrooms, producing earthier flavors and slightly denser fillings. You’ll notice less sugary seasoning and a preference for subtle savory notes that let herbs stand out.
Southern Thai versions sometimes include curry paste or turmeric in the filling for warmth and color, and are fried a touch longer for a darker, crunchier shell. Coastal areas may incorporate shrimp or fish, which changes moisture content—vendors compensate by drying or pre-cooking fillings to preserve exterior crispness.