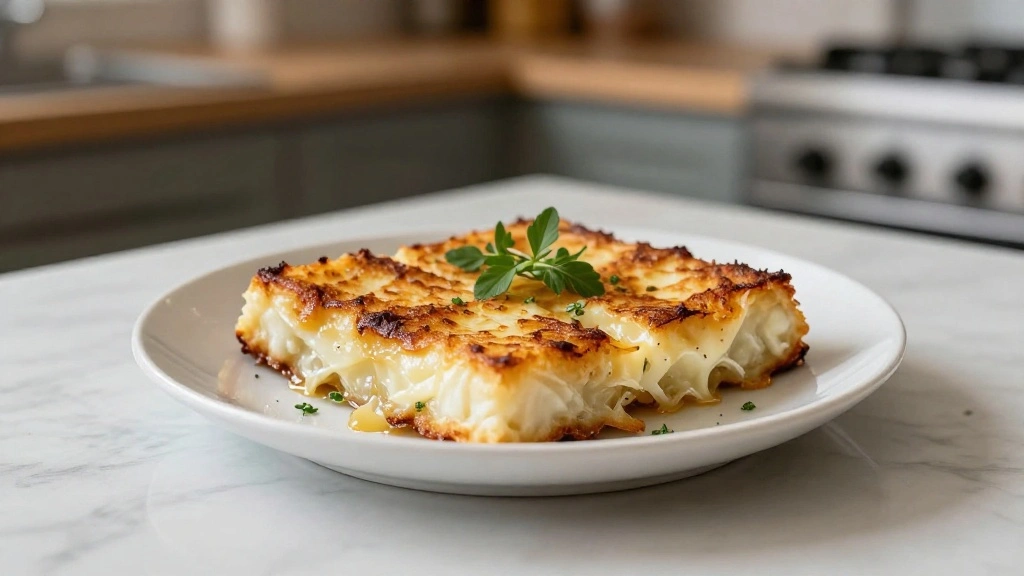


Greek Tiropita brings together centuries of culinary tradition with modern techniques to create a dish that’s both comforting and elegant.
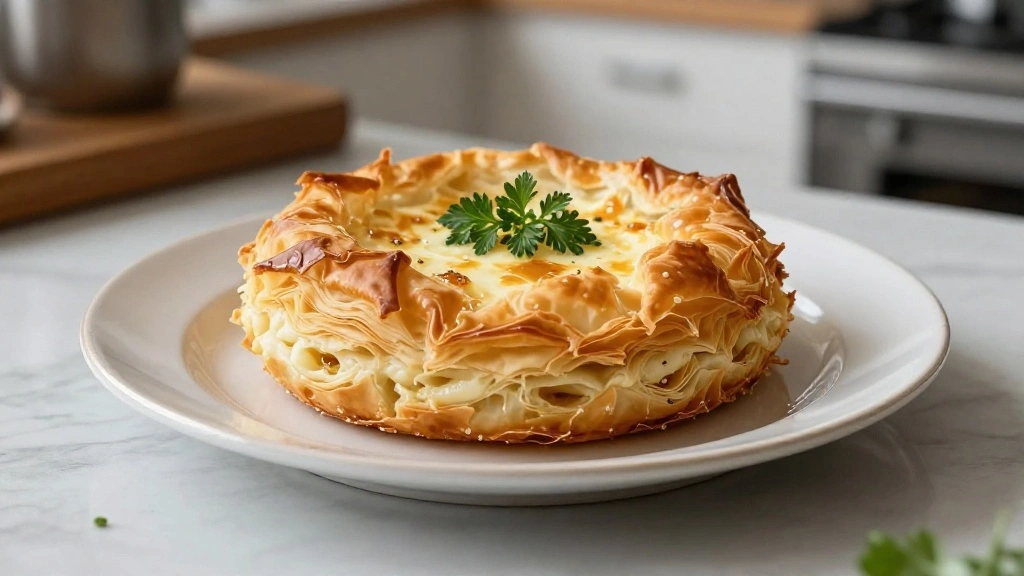
The harmonious balance of creamy feta cheese and flaky phyllo pastry creates a memorable dining experience that will have everyone asking for your secret.
I discovered this recipe during my travels through Greece, where local chefs have perfected it through generations of careful refinement.
Whether you’re preparing a casual family dinner or hosting a special celebration, this Greek Tiropita delivers impressive results with straightforward preparation.
The History and Cultural Significance
• Greek Tiropita traces its origins to ancient Greece, where it was originally created by resourceful homemakers using local cheeses and dough.
• The dish evolved over decades as new ingredients like phyllo dough were introduced, eventually becoming the beloved version we know today.
• In Greek culture, this dish traditionally appears at celebrations and family gatherings, symbolizing hospitality and abundance.
• While many variations exist across different regions, the authentic version maintains a rich cheese filling encased in delicate, crispy phyllo layers that sets it apart from imitations.


Recipe Overview
Nutritional Information (per serving)


Essential Equipment Guide
Baking Dish: A good-quality, non-stick baking dish is essential for ensuring even cooking and easy removal of the pie. Alternatives like glass or ceramic dishes can work as well, provided they offer even heat distribution.
Pastry Brush: This tool is crucial for applying butter or oil onto the thin phyllo layers without tearing them. Look for a brush with soft bristles for gentle application.
Sharp Knife: A sharp knife is important for cutting clean slices of the baked pie without crushing the delicate layers. A serrated knife can also be helpful for cutting through the crispy top.


Ingredients
For the Filling
|
| Amount | Ingredient | Notes |
|---|---|---|
| 2 cups | feta cheese | crumbled |
| 1 cup | ricotta cheese | smooth texture |
| 2 large | eggs | lightly beaten |
| 1 tablespoon | fresh dill | chopped finely |
| 1 teaspoon | nutmeg | adds warmth |
For the Phyllo Layers
| Amount | Ingredient | Notes |
|---|---|---|
| 12 sheets | phyllo pastry | thawed and covered with a damp towel |
| 1 cup | unsalted butter | melted, for brushing |


Preparation Methods
Layering Phyllo Dough: This technique involves carefully layering thin sheets of phyllo dough, brushing each with butter. It's crucial for achieving the flaky texture.
Crimping Edges: This method helps seal the edges of the dough, preventing filling leaks during baking. Mastery ensures a neat presentation.
Even Cheese Distribution: Distributing the cheese mixture evenly across the phyllo layers ensures uniform cooking and taste. Use a spatula for best results.


Step 1: Prepare Ingredients
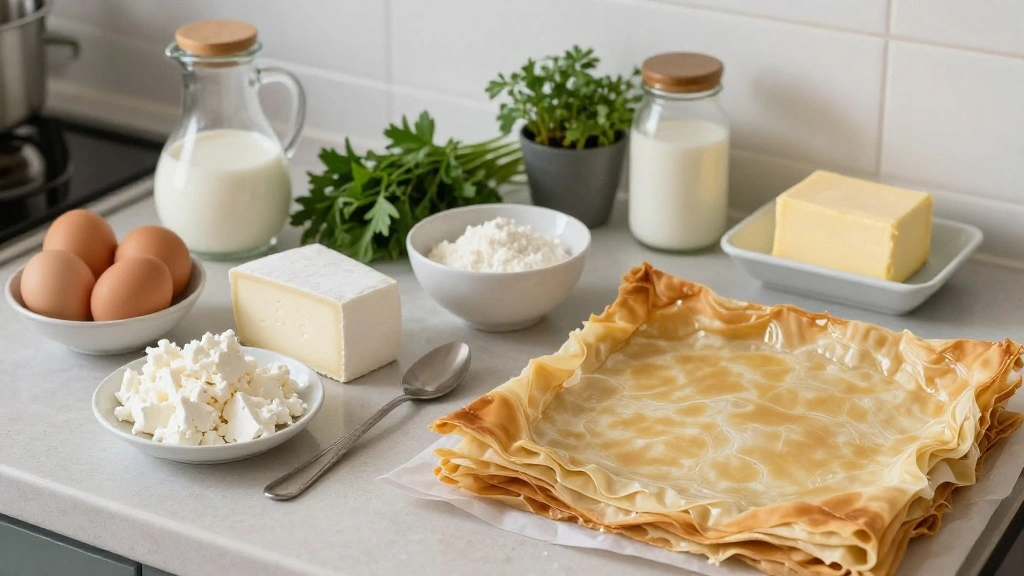
Gather all ingredients and ensure the phyllo dough is thawed and covered with a damp towel.
Preheat your oven to 350°F (175°C).
This step ensures everything is ready for smooth assembly.
Proper preparation helps avoid delays during cooking.


Step 2: Make the Cheese Filling
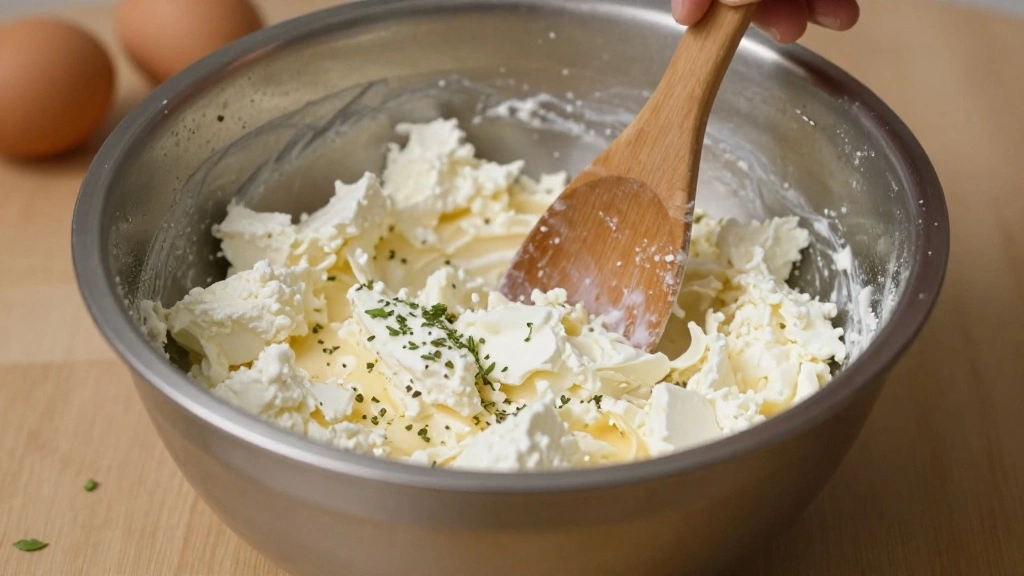
In a large bowl, combine the crumbled feta, ricotta, and beaten eggs.
Add the chopped dill and nutmeg, mixing until well incorporated.
Ensure the mixture is smooth and evenly blended.
This filling forms the creamy base of the Tiropita.


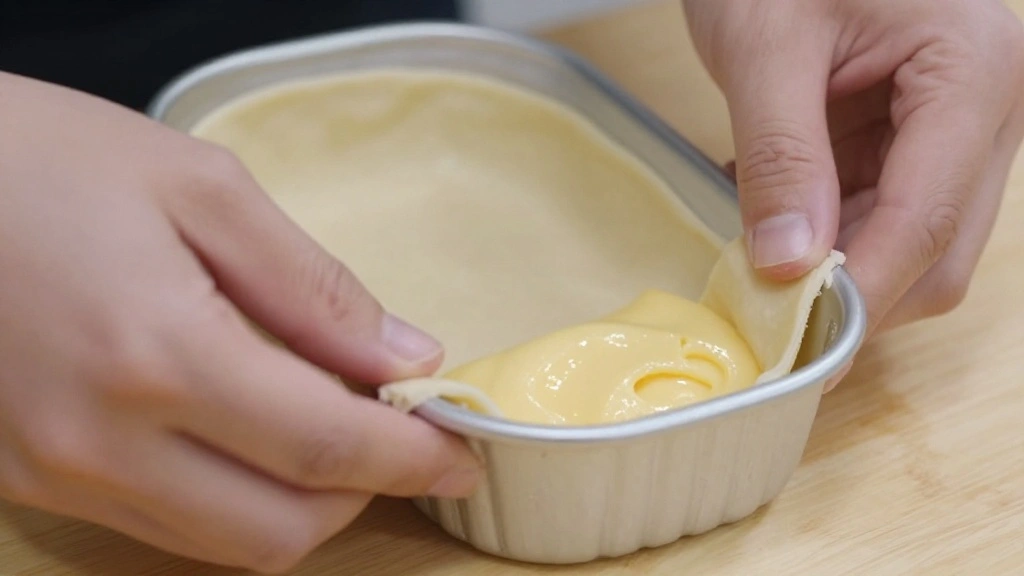
Step 3: Prepare the Phyllo Dough
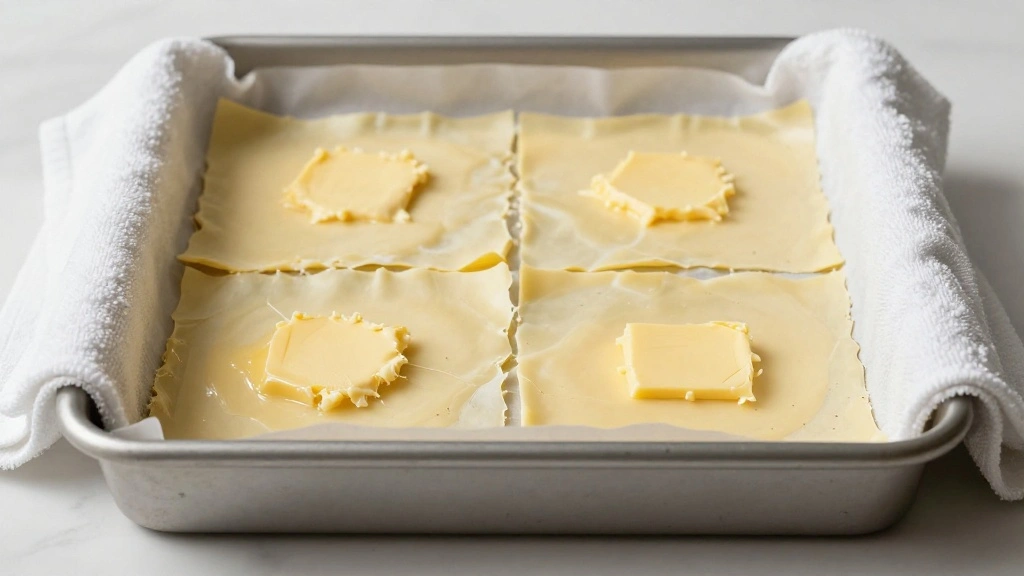
Gently unroll the phyllo dough and cover it with a damp towel to prevent drying out.
Take one sheet and place it in your baking dish, brushing it with melted butter.
Repeat this process for six sheets, ensuring each layer is buttered.
Proper layering is crucial for achieving the flaky crust.
Step 4: Add the Cheese Filling
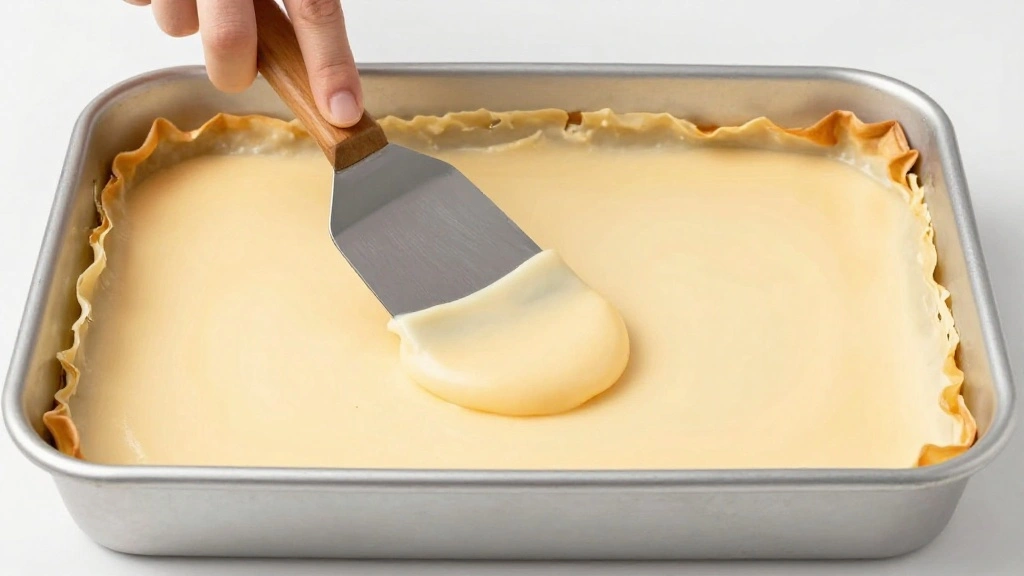
Spread the cheese filling evenly over the layered phyllo sheets.
Use a spatula to smooth the top and ensure an even layer.
This step is important for consistent flavor in every bite.
Even distribution helps the pie cook uniformly.
Step 5: Top with Phyllo Layers
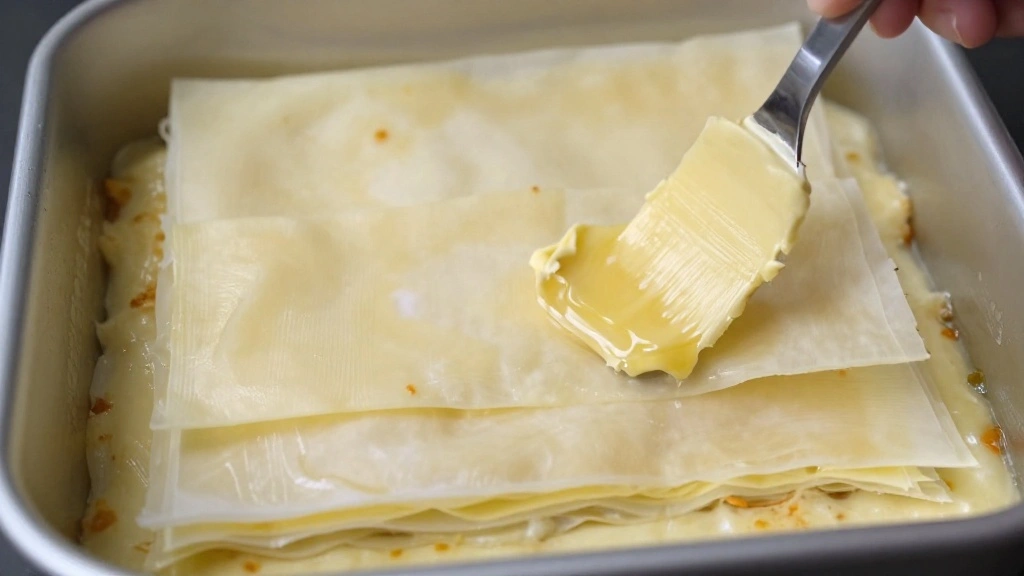
Place another phyllo sheet over the filling and brush with butter.
Repeat with the remaining sheets, brushing each with butter.
Ensure the top layer is neatly placed and well-buttered.
A neat top layer contributes to a professional look.
Step 6: Crimp the Edges
Gently crimp the edges of the phyllo to seal the filling inside.
Use your fingers to press down lightly around the edges of the dish.
This prevents the filling from leaking during baking.
Proper crimping ensures a tidy presentation.
Step 7: Score the Top
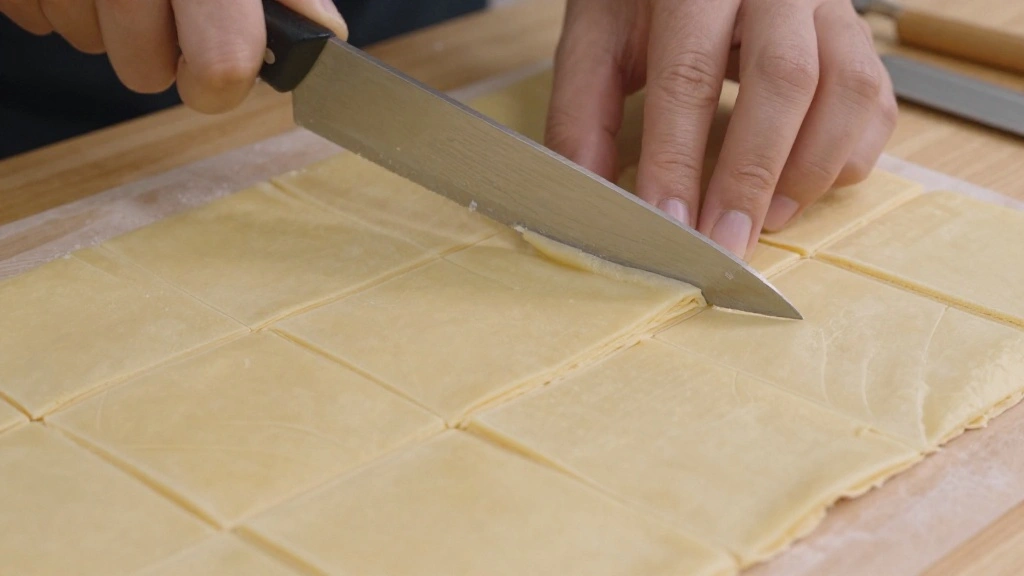
Using a sharp knife, score the top layer of phyllo into serving-sized squares.
This step allows steam to escape and makes serving easier.
Be gentle to avoid tearing the phyllo layers beneath.
Scoring ensures even cooking and ease of slicing.
Step 8: Bake the Tiropita
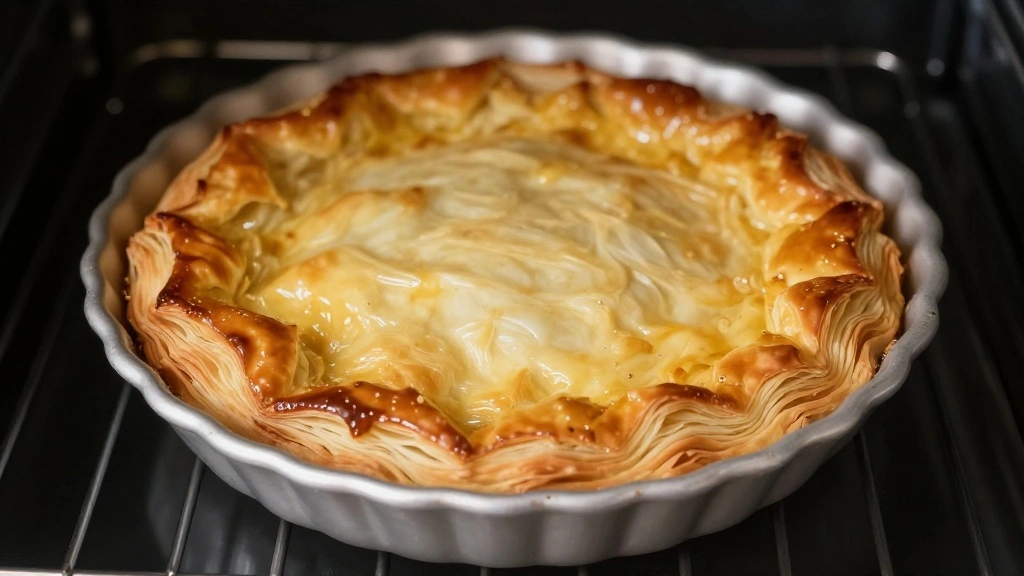
Place the baking dish in the preheated oven.
Bake for 45 minutes or until the top is golden brown and crispy.
Check for even browning and adjust the position if needed.
Proper baking time ensures a flaky, golden crust.


Step 9: Cool and Serve
Remove the Tiropita from the oven and let it cool for 10 minutes.
This allows the cheese filling to set slightly for easier cutting.
Serve warm, cutting along the scored lines for neat slices.
Cooling briefly enhances texture and ease of serving.


Critical Timing and Temperature Guide
Baking: Bake at 350°F (175°C) for 45 minutes until golden brown. Visual indicator: Even browning on top. Avoid opening the oven frequently to prevent heat loss.
Cooling: Cool for 10 minutes before slicing to allow the filling to set. Look for slightly firm filling. Avoid rushing this step to maintain slice integrity.
Serving: Serve while warm for optimal texture and flavor. If necessary, reheat gently in the oven. Avoid microwaving to prevent sogginess.


Pro Tips for Greek Tiropita
• Ingredient Selection: Choose high-quality feta cheese, as it greatly impacts the flavor and texture of the filling. Opt for authentic Greek feta if possible.
• Preparation Secret: Lightly dampen your hands before handling phyllo to prevent tearing from dry skin contact.
• Temperature Management: Ensure butter is melted but not hot when brushing phyllo to avoid premature cooking.
• Texture Enhancement: Layer butter between each phyllo sheet for maximum flakiness and crispiness.
• Flavor Layering: Incorporate fresh dill and a pinch of nutmeg to elevate the complexity of flavors in the cheese filling.
• Make-Ahead Strategies: Assemble the pie in advance and refrigerate, then bake fresh before serving. Cover tightly to prevent drying.
• Restaurant-Quality Finishing Touches: Garnish with a sprinkle of fresh dill or a drizzle of olive oil post-baking for added aroma.
• Equipment Optimization: Use a pastry brush with natural bristles for better butter distribution on phyllo layers.
Troubleshooting Common Issues
• Phyllo Tearing: This issue is often caused by dry or overly handled dough. Keep phyllo sheets covered with a damp towel and handle with care.
• Filling Leaks: Leaks can occur if edges aren't sealed properly. Ensure edges are crimped well and check for holes in phyllo layers.
• Undercooked Center: If the center is undercooked, it may be due to uneven oven heating. Bake on the middle rack and rotate if necessary.
• Burnt Top: Excessive browning can result from too high a temperature or top rack placement. Use foil to cover the top if it browns too quickly.
• Flavor Lacks Depth: Insufficient seasoning can lead to blandness. Ensure cheese mixture is well-seasoned before adding to phyllo.
Variations and Regional Differences
• Spanakotiropita: This variation includes spinach in the filling, offering a balance of savory cheese and earthy greens. It's popular for added nutrition.
• Turkish Börek: Similar to Tiropita but often includes a broader range of fillings like potatoes or meat. The dough is typically hand-rolled.
• Cretan Kalitsounia: A smaller pie filled with cheese and mint, often served as an appetizer. The dough is thicker and not as flaky.
• Cypriot Tiropita: Features halloumi cheese in addition to feta, providing a saltier and firmer texture. Often includes mint for added flavor.


Food Science Behind the Recipe
• Phyllo Dough's Flakiness: The science of layering phyllo with butter creates steam pockets during baking, leading to the flaky texture.
• Cheese Binding: Eggs in the cheese mixture act as a binder, setting the filling during baking and preventing separation.
• Maillard Reaction: The browning of the phyllo is a result of the Maillard reaction, enhancing flavor and visual appeal.
• Heat Distribution: Proper oven temperature ensures even heat distribution, critical for both crust crispiness and filling stability.


Frequently Asked Questions
What's the most common mistake people make when preparing Greek Tiropita? The most common mistake is handling phyllo dough improperly, leading to tears and uneven layers.
Can I use other cheeses besides feta and ricotta? Yes, you can experiment with cheeses like cottage cheese or halloumi, but the texture and taste will vary.
How should I store leftover Tiropita? Store leftovers in an airtight container in the refrigerator for up to 3 days. Reheat in the oven for best results.
Can I freeze Tiropita before baking? Yes, assemble the pie and freeze it unbaked. Bake directly from frozen, adding 10-15 minutes to the cooking time.
How do I prevent phyllo from drying out? Keep it covered with a damp towel while working to maintain moisture.
What can I do if my filling is too salty? Balance it with a small amount of cream or extra ricotta to mellow the saltiness.
Why is my Tiropita soggy? Insufficient baking time or moisture in the filling can cause sogginess. Ensure full cooking and drain any excess liquid from ingredients.
Serving and Presentation Guide
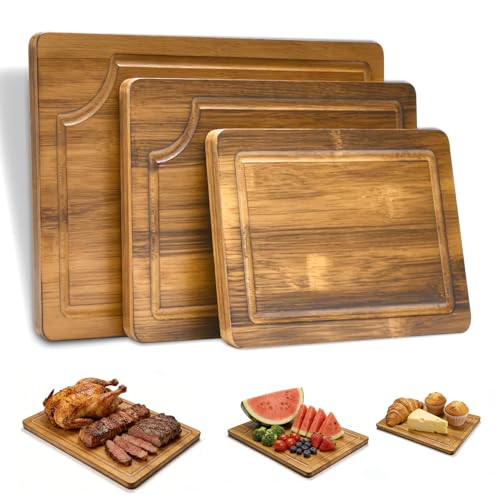
• Traditional Presentation: Serve Tiropita as a large pie, sliced into squares or triangles, on a rustic wooden board or platter.
• Individual Servings: Prepare smaller, hand-held portions for easy serving at parties or gatherings.
• Garnished Presentation: Add a fresh herb garnish, such as a sprig of dill or parsley, for a pop of color and freshness.
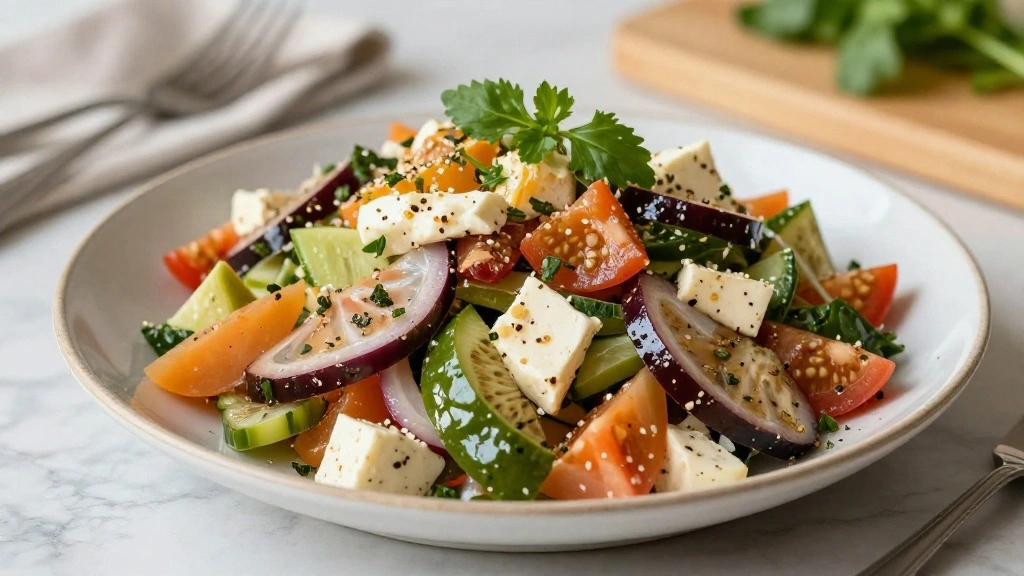
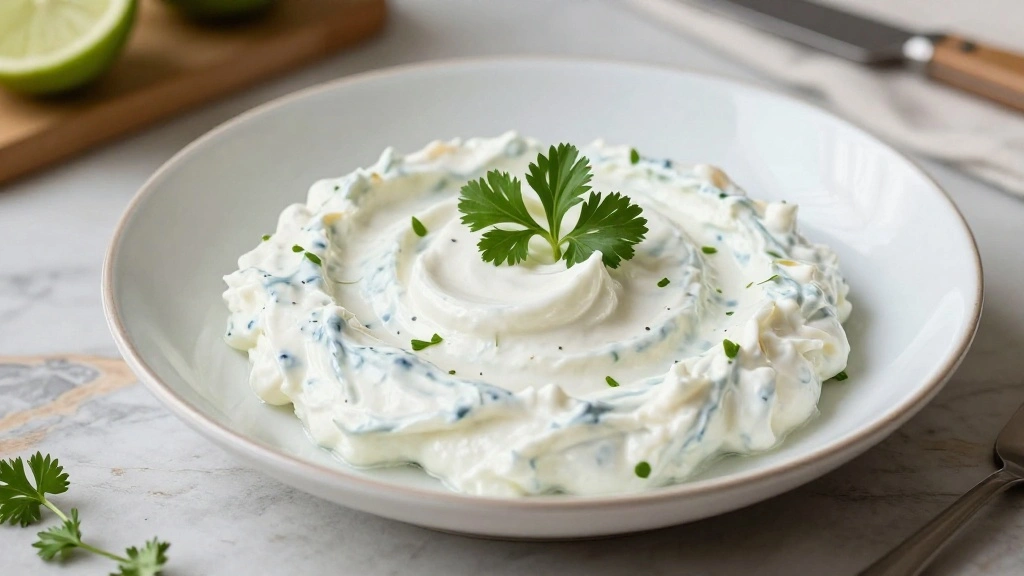
• Accompanied Presentation: Pair with a simple Greek salad or a dollop of Greek yogurt for a complete meal.
Conclusion
Greek Tiropita is a delightful blend of tradition and taste, perfect for any occasion.
With its flaky crust and creamy filling, it's sure to become a favorite in your recipe collection.
Give this classic dish a try, and experience a slice of Greece in your own kitchen.