
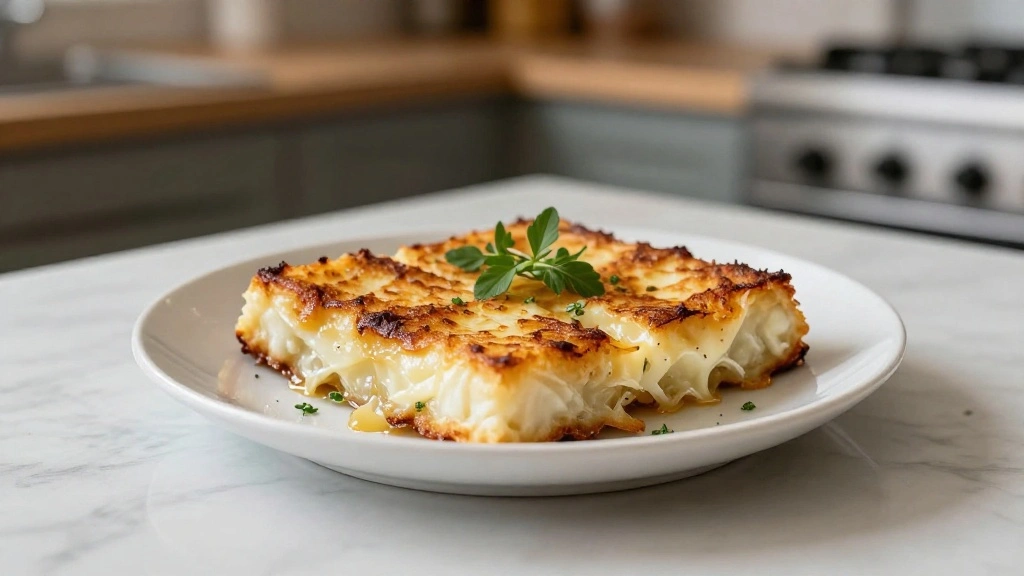


Greek Saganaki is a delightful appetizer that combines simplicity with bold flavors.
This crispy pan-fried cheese dish is a staple in Greek cuisine, known for its irresistible golden crust and gooey interior.
The contrast between the salty cheese and the tangy squeeze of fresh lemon juice creates a flavor explosion that captures the essence of Greek culinary tradition.
Having tasted this dish in a quaint taverna on a sun-drenched Greek island, it instantly became a favorite.
Whether you’re entertaining guests or savoring a quiet meal at home, this dish is sure to impress with its quick preparation and dramatic presentation.
The History and Cultural Significance
• Greek Saganaki traces its origins to the early 20th century, where it was originally created by Greek tavern owners seeking a quick and delicious appetizer.
• The dish evolved over decades as variations using different cheeses like halloumi and graviera emerged, eventually becoming the beloved version we know today.
• In Greek culture, this dish traditionally appears at family gatherings and celebrations, symbolizing hospitality and the joy of sharing good food.
• While many variations exist across different regions, the authentic version maintains the use of high-quality Greek cheese that sets it apart from imitations.


Recipe Overview
Nutritional Information (per serving)


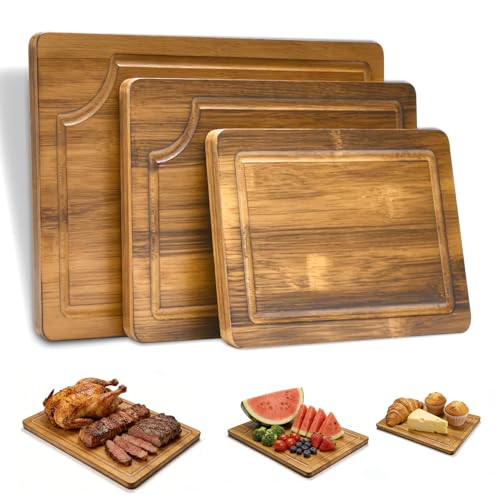
Essential Equipment Guide
Heavy-bottomed frying pan: Essential for achieving an even, golden crust without burning. Alternatives like a cast-iron skillet work well. Look for a pan with a thick base for even heat distribution.
Spatula: Important for flipping the cheese without breaking it. A thin, flexible metal spatula is ideal. Ensure it has a wide surface for better support.
Paper towels: Necessary for absorbing excess oil after frying. Any absorbent kitchen towel can work, but paper towels are convenient for quick cleanup.
Ingredients
Cheese
|
| Amount | Ingredient | Notes |
|---|---|---|
| 200 grams | kefalotyri cheese | sliced into 1 cm thick pieces |
Breading
| Amount | Ingredient | Notes |
|---|---|---|
| 1 cup | all-purpose flour | for coating, adds crispy texture |
Seasonings
| Amount | Ingredient | Notes |
|---|---|---|
| 1 pinch | black pepper | freshly ground, enhances flavor |
For Serving
| Amount | Ingredient | Notes |
|---|---|---|
| 1 medium | lemon | cut into wedges, adds tanginess |
| 1 tablespoon | olive oil | for frying, adds richness |


Preparation Methods
Flouring Technique: The cheese needs a light dusting of flour to achieve a crispy crust. Coat evenly by gently pressing the cheese into the flour and shaking off excess. This step is crucial for texture.
Preheating the Pan: Ensures even cooking and a crisp exterior. Heat the pan over medium-high heat until a drop of water sizzles upon contact. Proper preheating prevents sticking.
Flipping with Care: Flip the cheese gently using a spatula, ensuring it doesn’t break apart. Wait until the crust is golden and slightly firm before turning. This prevents cheese from sticking to the pan.


Step 1: Prepare the Cheese
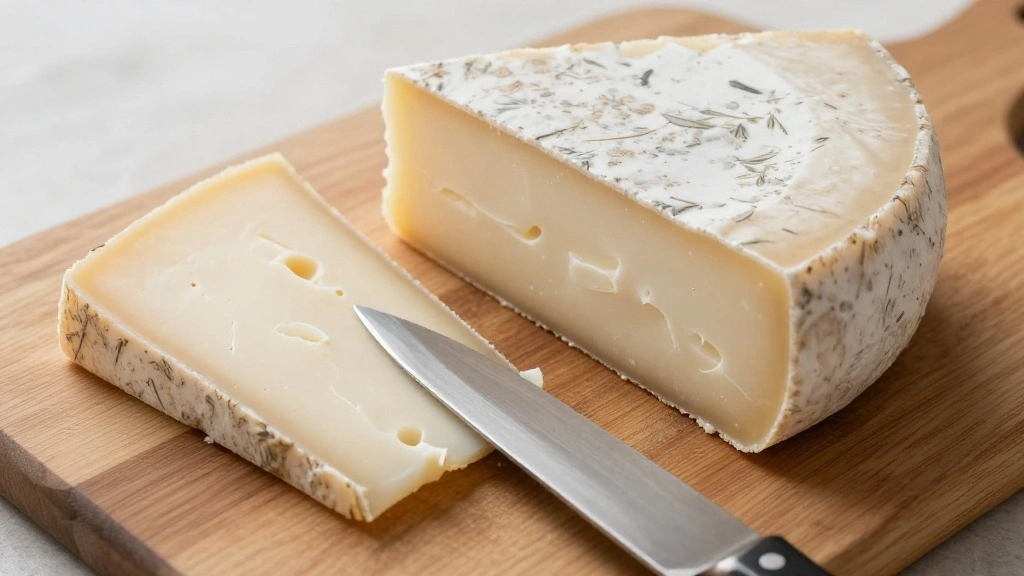
Slice the kefalotyri cheese into uniform pieces approximately 1 cm thick.
Ensure each piece is of similar size for even cooking.
This will help achieve a consistent texture and appearance.
Use a sharp knife for clean cuts.


Step 2: Coat the Cheese
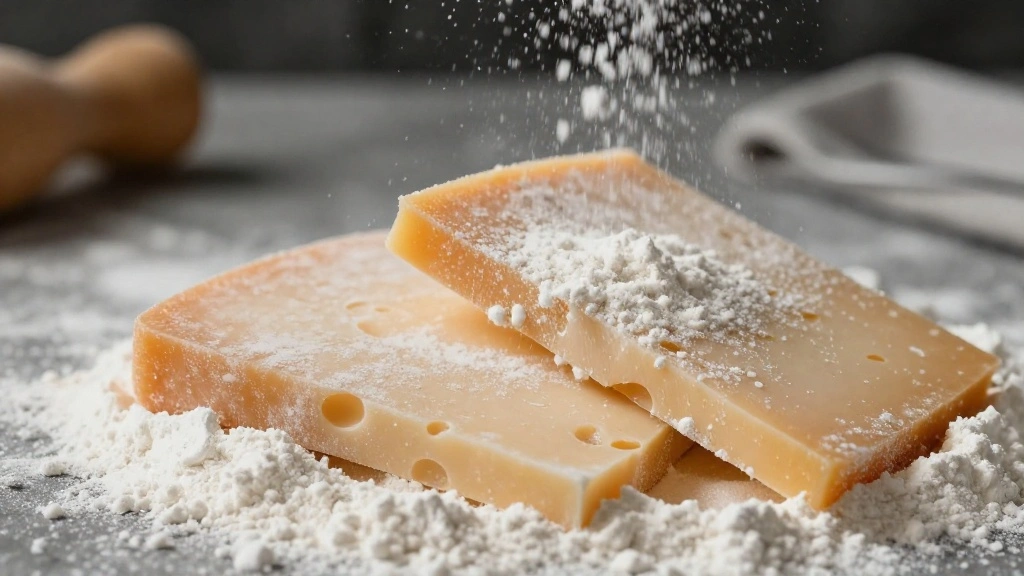
Place the flour in a shallow dish.
Dredge each cheese slice in the flour, ensuring a light, even coating.
Shake off any excess flour to prevent clumping.
This step is crucial for creating the crispy exterior.
Step 3: Preheat the Pan
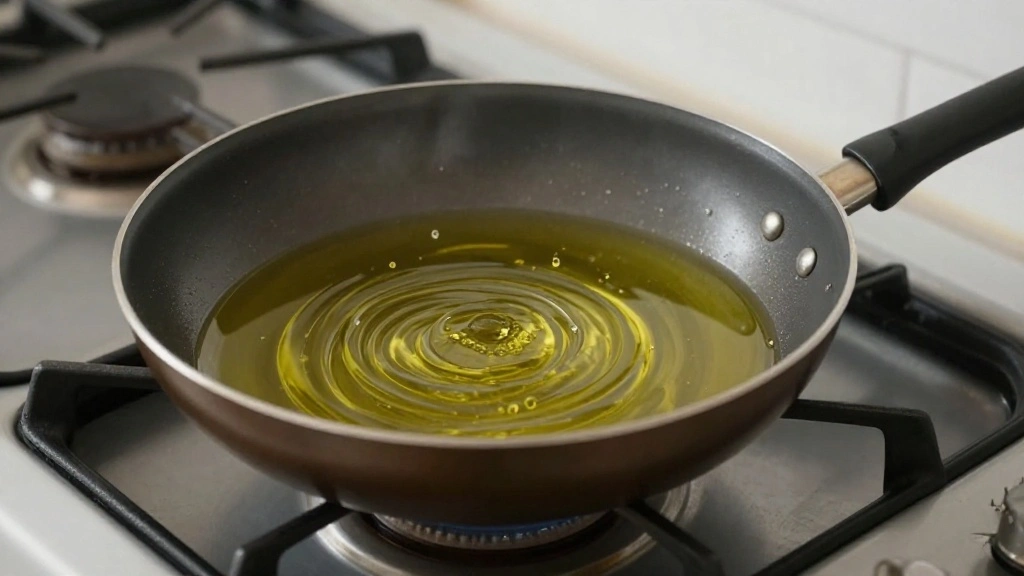
Heat a heavy-bottomed frying pan over medium-high heat.
Add olive oil to the pan, swirling to coat the surface evenly.
Wait until the oil is shimmering before adding the cheese.
This ensures that the cheese doesn’t stick and cooks evenly.
Step 4: Fry the Cheese
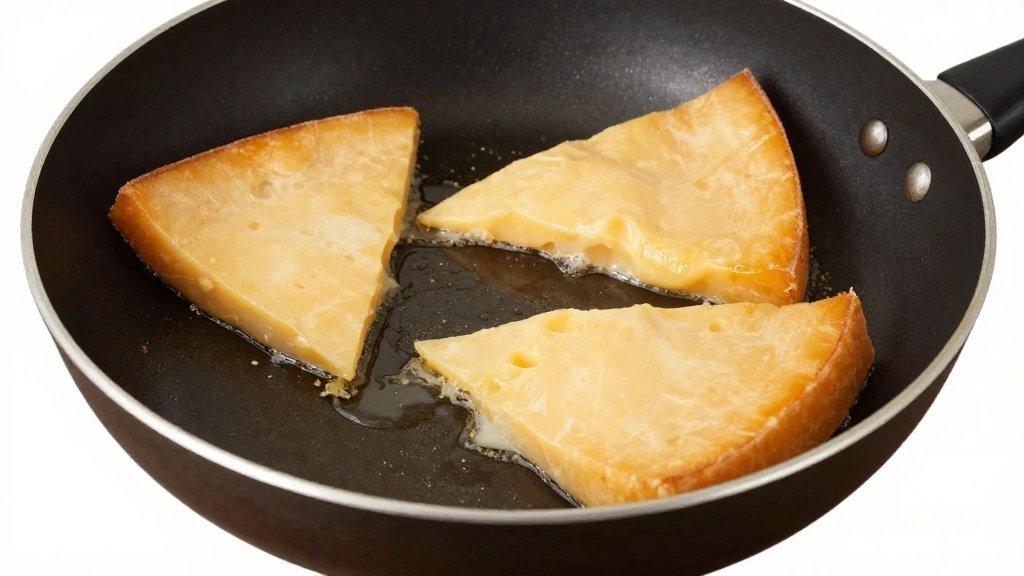
Carefully place the floured cheese slices into the hot pan.
Cook for about 2-3 minutes on one side until golden and crispy.
Use a spatula to check the underside occasionally.
The perfect crust should be golden and slightly firm.
Step 5: Flip the Cheese

Gently flip each cheese slice using a spatula.
Cook the other side for an additional 2-3 minutes.
Ensure the cheese is melted inside while maintaining a crispy exterior.
Proper flipping helps maintain the cheese's shape.
Step 6: Drain Excess Oil
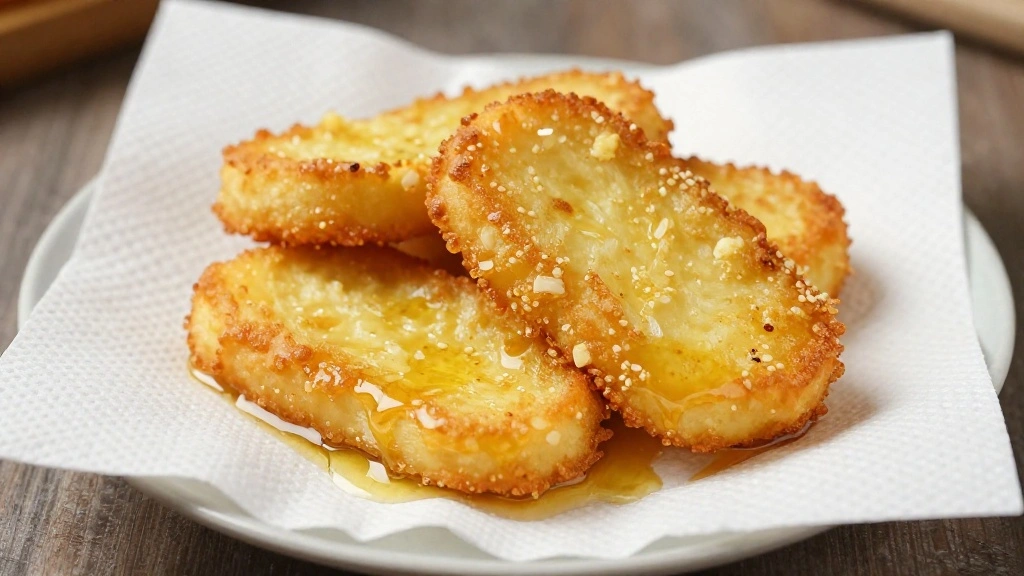
Remove the fried cheese slices from the pan.
Place them on a plate lined with paper towels.
This will absorb any excess oil from the surface.
Draining is essential for a light, non-greasy finish.
Step 7: Serve the Saganaki
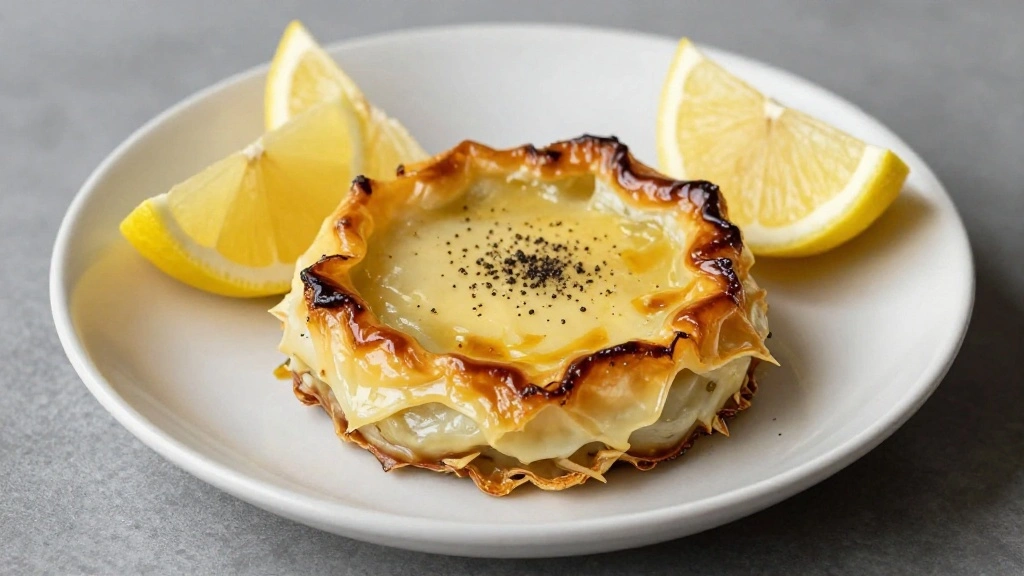
Transfer the saganaki to a serving plate.
Garnish with freshly ground black pepper for added flavor.
Serve immediately with lemon wedges on the side.
The lemon juice enhances the dish's vibrant flavors.
Step 8: Enjoy the Dish

Squeeze fresh lemon juice over the saganaki just before eating.
The acidity cuts through the richness of the cheese.
Enjoy the contrasting textures of the crispy crust and gooey interior.
This dish is best savored while hot.
Critical Timing and Temperature Guide
Preheating the Pan: Heat the pan over medium-high heat until a drop of water sizzles. Avoid overheating to prevent burning the cheese.
Frying the Cheese: Cook each side for 2-3 minutes. Look for a golden crust and slight firmness. Overcooking can lead to excessive oil absorption.
Serving Temperature: Serve immediately after cooking for optimal texture. Reheating can compromise the crispy exterior.
Pro Tips for Greek Saganaki
• Ingredient Selection: Choose high-quality kefalotyri or graviera cheese for the best results, as their flavors and textures are unmatched.
• Preparation Secret: Lightly sprinkle salt on the cheese before flouring for enhanced flavor depth.
• Temperature Management: Ensure the oil is hot enough before adding the cheese to prevent sticking and ensure even cooking.
• Texture Enhancement: Use just enough flour to coat the cheese without overdoing it, which can lead to a gummy texture.
• Flavor Layering: Add a hint of oregano to the flour for an extra dimension of flavor.
• Make-Ahead Strategies: Flour the cheese slices in advance and store them in the fridge, covered, for up to 2 hours before cooking.
• Restaurant-Quality Finishing Touches: Garnish with a sprinkle of fresh herbs like parsley for a vibrant finish.
• Equipment Optimization: Use a heavy-bottomed pan for even heat distribution, ensuring a consistent crust.
Troubleshooting Common Issues
• Cheese Melting Too Much: Occurs when the pan is too hot or the cheese is overcooked. Ensure proper temperature control and monitor cooking time closely.
• Flour Coating Falling Off: Can happen if the cheese is wet. Pat the cheese dry before flouring and ensure even coating.
• Cheese Sticking to the Pan: Often due to insufficient oil or inadequate preheating. Use enough oil and preheat the pan properly.
• Taste Too Salty: Resulting from over-salted cheese or extra seasoning. Adjust seasoning based on the cheese's natural saltiness.
• Crust Not Crispy: Can occur if the oil is not hot enough. Ensure the oil is shimmering before adding the cheese.
Variations and Regional Differences
• Cretan Saganaki: Uses graviera cheese and often incorporates a touch of honey for a sweet-savory contrast.
• Cypriot Halloumi Saganaki: Utilizes halloumi cheese, known for its high melting point, offering a firmer texture.
• Mediterranean Style: Features additional ingredients like olives and capers for a briny twist.
• Herbed Saganaki: Infuses the flour with herbs such as thyme or rosemary for a fragrant variation.
Food Science Behind the Recipe
• Maillard Reaction: This chemical reaction between amino acids and sugars gives the saganaki its characteristic golden-brown crust.
• Emulsification: The interaction between the flour coating and oil creates a barrier that helps in achieving a crispy exterior.
• Acidity Balance: The lemon juice acts as a counterbalance to the cheese's richness, enhancing flavor perception.


Frequently Asked Questions
What's the most common mistake people make when preparing Saganaki? Overheating the pan, which can cause the cheese to burn before achieving the perfect crust.
Can I use other types of cheese? Yes, cheeses like halloumi or graviera can be used as alternatives.
Is it possible to bake Saganaki instead of frying? While traditional saganaki is fried, you can bake it at 400°F until golden, though it may lack the same crispiness.
How do I store leftovers? Store in an airtight container in the fridge and reheat in a skillet to revive crispiness.
What can I serve with Saganaki? Pair with crusty bread, fresh salad, or grilled vegetables for a complete meal.
Why does my Saganaki lack flavor? Ensure the cheese is of high quality and properly seasoned.
How do I prevent the cheese from sticking to the pan? Use a non-stick or well-seasoned cast-iron pan and ensure it is sufficiently preheated.
Serving and Presentation Guide
• Traditional Presentation: Serve the saganaki in the frying pan it was cooked in, accompanied by lemon wedges.
• Modern Plating: Arrange on a white plate with a drizzle of honey and a sprinkle of fresh herbs for color contrast.
• Family-Style Serving: Present on a large platter with assorted accompaniments like olives and roasted peppers.
• Single-Serve Option: Plate individually with a small side salad for a sophisticated appetizer.


Conclusion
Greek Saganaki is a testament to the beauty of simple ingredients brought together in harmony.
With its quick preparation and delightful flavors, it’s perfect for any occasion.
Embrace the spirit of Greek hospitality by sharing this delicious dish with loved ones.
Try it today and bring a taste of Greece to your table!